IV. Collect Specimens
Overview
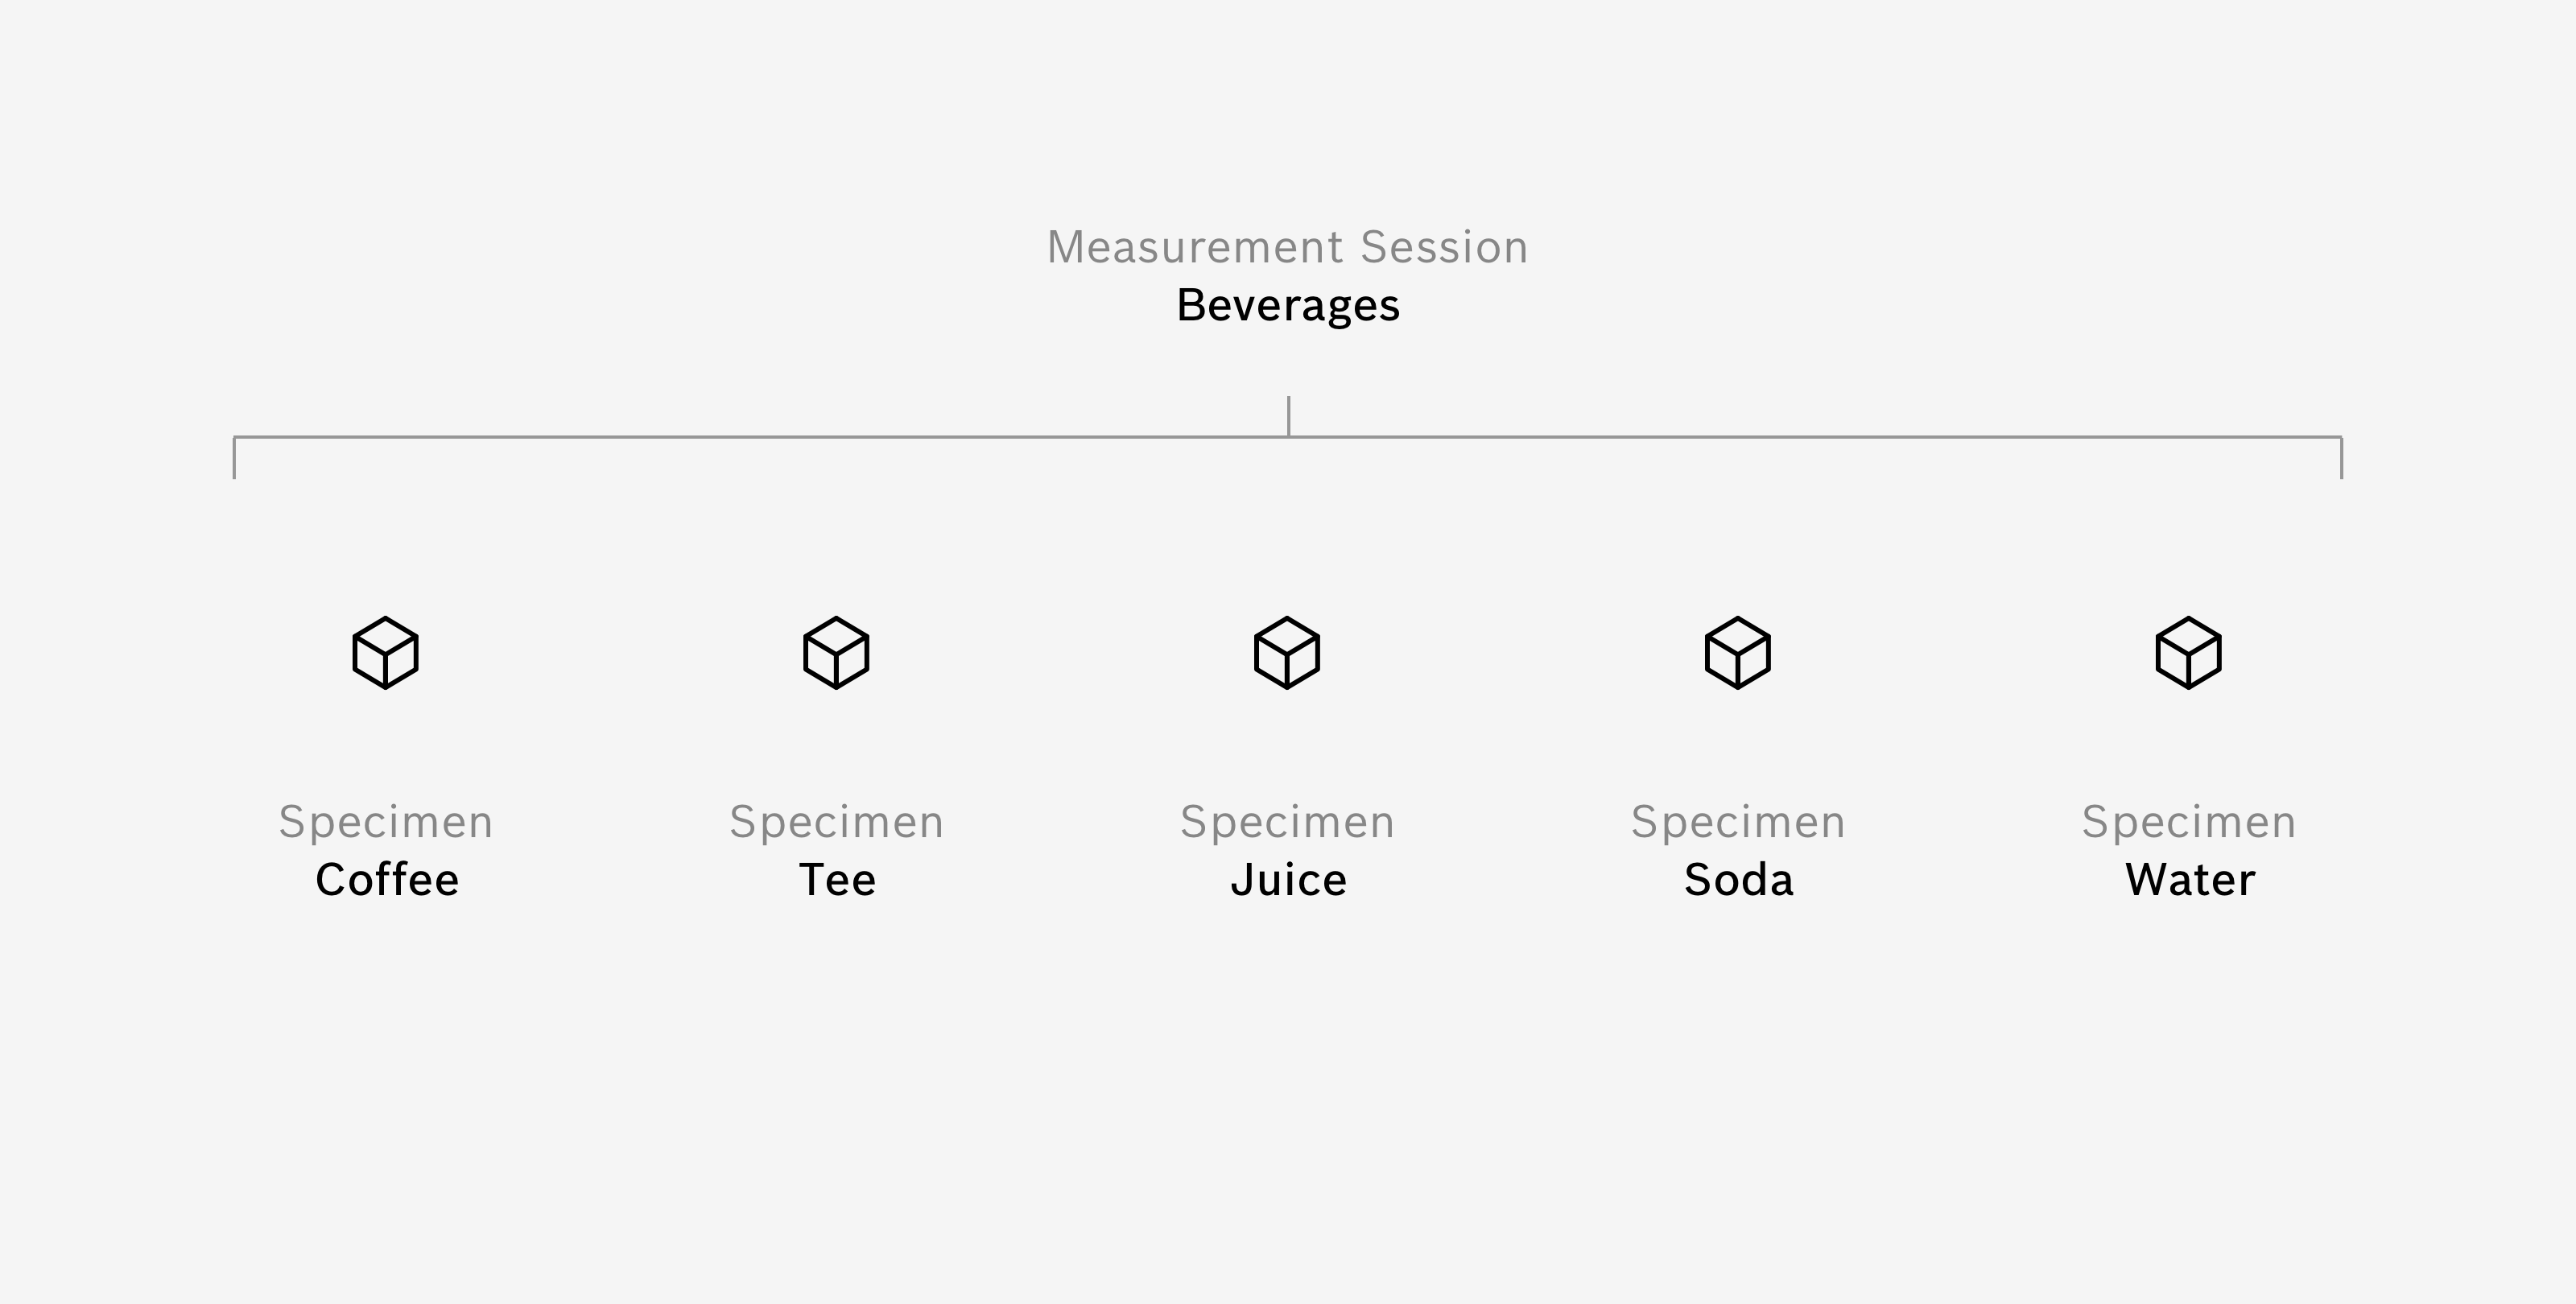
Once you imported the Raw Data files from your measurements, you find the imported data as individual Specimens in your Specimen Collection. The Specimens in this list are grouped by Measurement Session and sorted by import date by default. You can organize all your data here, before later proceeding to train Algorithms.
The purpose of the Specimen Collection is to collect various Specimens that belong to one use case. You may collect a lot of different Specimens over time and use different combinations of Specimens to try out the training of different algorithms.
Good to know
It is recommended to start a new project (with a fresh Specimen Collection) for each use case you want to investigate. Therefore you can collect all Specimens that you want to use for training of use-case-specific algorithms within one project. You can easily export Specimens and import them in other projects.
Sort Specimens
You can change the sorting of Specimens by clicking repeatedly on the respective column header on top of the list. A little caret icon indicates the sorting direction:
∧means ascending order (A-Z, 0-9, early-late)∨means descending order (Z-A, 9-0, late-early).
Search Specimens
You can search for specific Specimens within the Specimen Collection via the search field above the list. Once you entered a search term, the list below will be filtered according to your search and show only Specimens matching your search.
Measurement Session Settings
After importing Measurement Raw Data into your Specimen Collection you can always come back to the settings of each Measurement Session. Click the Settings button next to each Measurement Session in your Specimen Collection to access these settings.
Here you can see information about the session, change its name and date, as well as edit Specimen definitions, add additional Specimen definitions or remove them.
See Specimen details
Once you select a Specimen within the Specimen Collection, detail information of the selected Specimen is shown on the right hand side. Here you can add and change the label of the Specimen, add and edit a corresponding comment, and see all additional details regarding the Specimen.
Select multiple Specimens
You can also select multiple Specimens by clicking on the respective checkbox on the right hand side of each list entry. The detail information on the right now reflects which information has equal values and which information has multiple values within your selection.
If you select the checkbox of a whole Measurement Session, all Specimens within that session are selected. If you select the checkbox inside the column header of the Specimen Collection, all Specimens of all Measurement Sessions are selected.
Export Specimen Data
Once you select one or multiple Specimens, you can export these Specimens as individual files. Each file will include everything related to that specific Specimen, including its Label, Comment, etc.
Export Specimen Data if you want to use these Specimens in another BME project, if you want to share the data with others or if you want to manually back up that data.
Delete Specimens
Once you select one or multiple Specimens, you can delete these Specimens from your Specimen Collection. BME AI-Studio will ask you to confirm the action before deleting the Specimens.
The action can not be undone, however only the definition of the Specimen (e.g. its start and end time, its Label, etc.) is deleted. The underlying Measurement Raw Data will be kept in the background, as long as you have one or more other Specimens from the same Measurement Session in your collection. If you delete all Specimens from a session, the Measurement Raw Data will be deleted as well.
Please note
Be careful with deleting Specimens that you associated with an algorithm. After deleting the Specimen, it will be missing from your algorithm and therefore affect the outcome of the training. BME AI-Studio will give you warning, when you try to delete a Specimen that have been used within an algorithm.
Specimen
Label
The label of each Specimen specifies what exactly has been measured – this could be an object, a specific situation, a smell, gas, etc. You can confirm your edit by pressing Enter or selecting the blue ✓ button. If you press ESC or select the grey X button, your edit will be discarded and the original value of the field will be kept.
Good to know
Label your Specimens as explicitly and clear as possible. “Apple Granny Smith, 1 day old” is better than “Apple 1”.
Please note
Labels are not to be confused with classes. Labels can include additional information and differentiate Specimens, that will later go into the same class. E.g. you might want to label your Specimens “Red apple”, “Green apple” and “Apple bio”, but use all three of them in one Class called “Apples”.
Comment
Add a comment to your Specimen to add extra information or notes. This might help you identify and distinguish your Specimens later on.
Meta Data
This section allows you to store additional Meta Data for your Specimens. Unlike the Label and Comment fields, Meta Data allows structured information to be stored across different Specimens. You can add individual keys by clicking on Add additional Meta Data key.
Meta Data keys are globally defined and thus require a unique key name. A maximum of 16 Meta Data keys can be defined. As values you can insert anything – BME AI-Studio will automatically interpret your input as a numeric, textual or boolean information. Values can also be left empty.
By clicking on ... you can rename or delete Meta Data keys.
Good to know
Use Meta Data whenever you have structured data associated with your Specimens, like numeric, categorical or boolean information. For example the age of a fruit can be such a piece of information. A Meta Data key with the name (and probably the unit) can be very useful, like "Age since harvest [days]".
Please note
Try to minimize the number of Meta Data keys, by generalizing them as much as possible. This is helpful regarding future functionalities.
DANGER
Be careful with renaming and deleting Meta Data keys. This has a global effect on all Specimens and can not be undone.
Meta Data as a label for Regression Algorithms
With Meta Data you can label your data for the creation of Regression algorithms. Meta Data keys can be used as Regression targets – the algorithm is then trained to predict this Meta Data key as a (numeric) quantity. See also the section about Regression.
Please note
For a Meta Data key to be used as a regression target, meta data for all Specimens used must have numeric values. Text or empty fields cannot be used in the training of the regression algorithm.
DANGER
Changing Meta Data for Specimens that have been associated with Regression Algorithms may affect those in an irreversible way.
Untrained algorithms will adapt to changes on Meta Data dynamically. This affects the name of Meta Data keys and the Meta Data values. Deleted Meta Data keys will be removed as a Regression target from untrained Algorithms.
Trained algorithms will be marked with a red triangle if Meta Data keys that are associated with it are either deleted or Meta Data values were changed. Such Algorithms cannot be duplicated anymore.
Details
Session
This indicates the Measurement Session the selected Specimen belongs to.
Start & End Time
This indicates the date and time the selected Specimen has been recorded within the respective Measurement Session. Within the Raw Data, the time information is stored in Coordinated Universal Time (UTC) and is here automatically displayed in your respective local time zone.
Duration
This indicates the length of the measurement of the selected Specimen, according to its start and end time.
Cycles Total
This indicates the total number of Scanning Cycles in the Measurement Raw Data of the selected Specimen.
Please note
Since each Heater Profile has slightly different cycle lengths, the number of Scanning Cycles within a Specimen can vary and might be different for equal measurement durations.
Cycles Dropped
This indicates the number of Scanning Cycles that have been dropped during import. When importing Raw Measurement Data, BME AI-Studio automatically checks the data of every Scanning Cycle and excludes incomplete cycles from the import.
The number of dropped Scanning Cycles is also indicated as a percentage of the total number of Scanning Cycles.
Remaining Cycles
This indicates the number of remaining Scanning Cycles of the selected Specimen after dropping incomplete cycles.
Board Configuration
Board ID
This indicates which BME Board has been used to record the data of the selected Specimen. Each board has a unique ID that is permanently stored on the board itself, which makes it uniquely identifiable.
Board Type
This indicates the type of BME Board used to record the data of the selected Specimen.
Board Mode
This indicates the board mode in which the BME Board was configured in when used to record the data of the selected Specimen.
Show Configuration
You can see the Board Configuration of the BME Board which was used to record the data by selecting Show Configuration. This opens up an overlay with the following information:
Board Type
This indicates the type of BME Board used to record the data of the selected Specimen.
Board Mode
This indicates the board mode in which the BME Board was configured in during recording of the data of the selected Specimen.
Heater Profiles
The Heater Profile or list of Heater Profiles used to record the data of the selected Specimen. If multiple Heater Profiles have been used, you can click Show Heater Profiles to see additional details of each Heater Profile.
Duty Cycle
The Duty Cycle or list of Duty Cycles used to record the data of the selected Specimen. If multiple Duty Cycles have been used, you can click Show Duty Cycles to see additional details of each Duty Cycle.
Board Layout
This indicates how the HP/RDC combinations were distributed over the available sensors on the BME Board during recording of the data of the selected Specimen.