II. Record Data
Overview
Once you configured your BME Board, you are ready to make some measurements and record data. During this step, you don't need the BME AI-Studio application. You can record data with just the BME Board.
Custom Hardware
If you are using other hardware than the BME Development Kit to record data, please ensure that the generated data adheres to the specifications of the Raw Data Format.
In order to produce meaningful data, you should pay attention to the following important points:
- Try to capture realistic situations
As you are recording data for classification or regression algorithms, it is important that the data is recorded under conditions that closely mimic your final use case scenario. The effectiveness of the algorithm is profoundly influenced by the quality and realism of its training data. Therefore, it's essential to ensure that your data collection process replicates the real-world environment where the neural network will be ultimately deployed.
This means: if you want to distinguish apples from oranges that are lying on a table, do not record data where you cut the fruit and put it in a closed box with the sensor. Gas concentrations will be very different from the use case you intend to have later. - Take some time
Depending on the duration of the Heater Profiles and Duty Cycles you are using the sensor takes between 15 seconds and several minutes for data point (cycle). Try to collect at least 50 data points (which is a recording duration of 50 times the Duty Cycle length) per situation.
This means: if you use a Duty Cycle with a duration of 30 seconds, try to record each situation for at least 25 minutes. - Vary the situations
The more you vary the recording situations the more robust your algorithm will be. Temperature and humidity have a substantial influence on the sensitivity and selectivity of the sensor. Measuring across different situations and with different background gases will increase the variety of measurements that go into the training of the algorithm, which will give you a better feedback on how robust the algorithm is across different situations.
This means: Recording the data in various situations and across multiple days.
Some questions you could ask yourself
Depending on what you want to measure, it is important to prepare the appropriate setup and context. Some questions you should ask yourself:
- What do I want to measure? What is my Specimen?
- Can I reproduce the Specimen and if yes, how?
- Does the measurement take place inside or outside?
- How could the surroundings affect the measurement?
- Which nuisances could influence the use case and need to be inlcuded?
DANGER
Do not touch the sensors with your fingers. Fat on your skin will stick to the surface of the sensor enclosure and outgas for a long time. This will alter your gas recordings and lead to the training of unrealistic algorithms.
Start recording
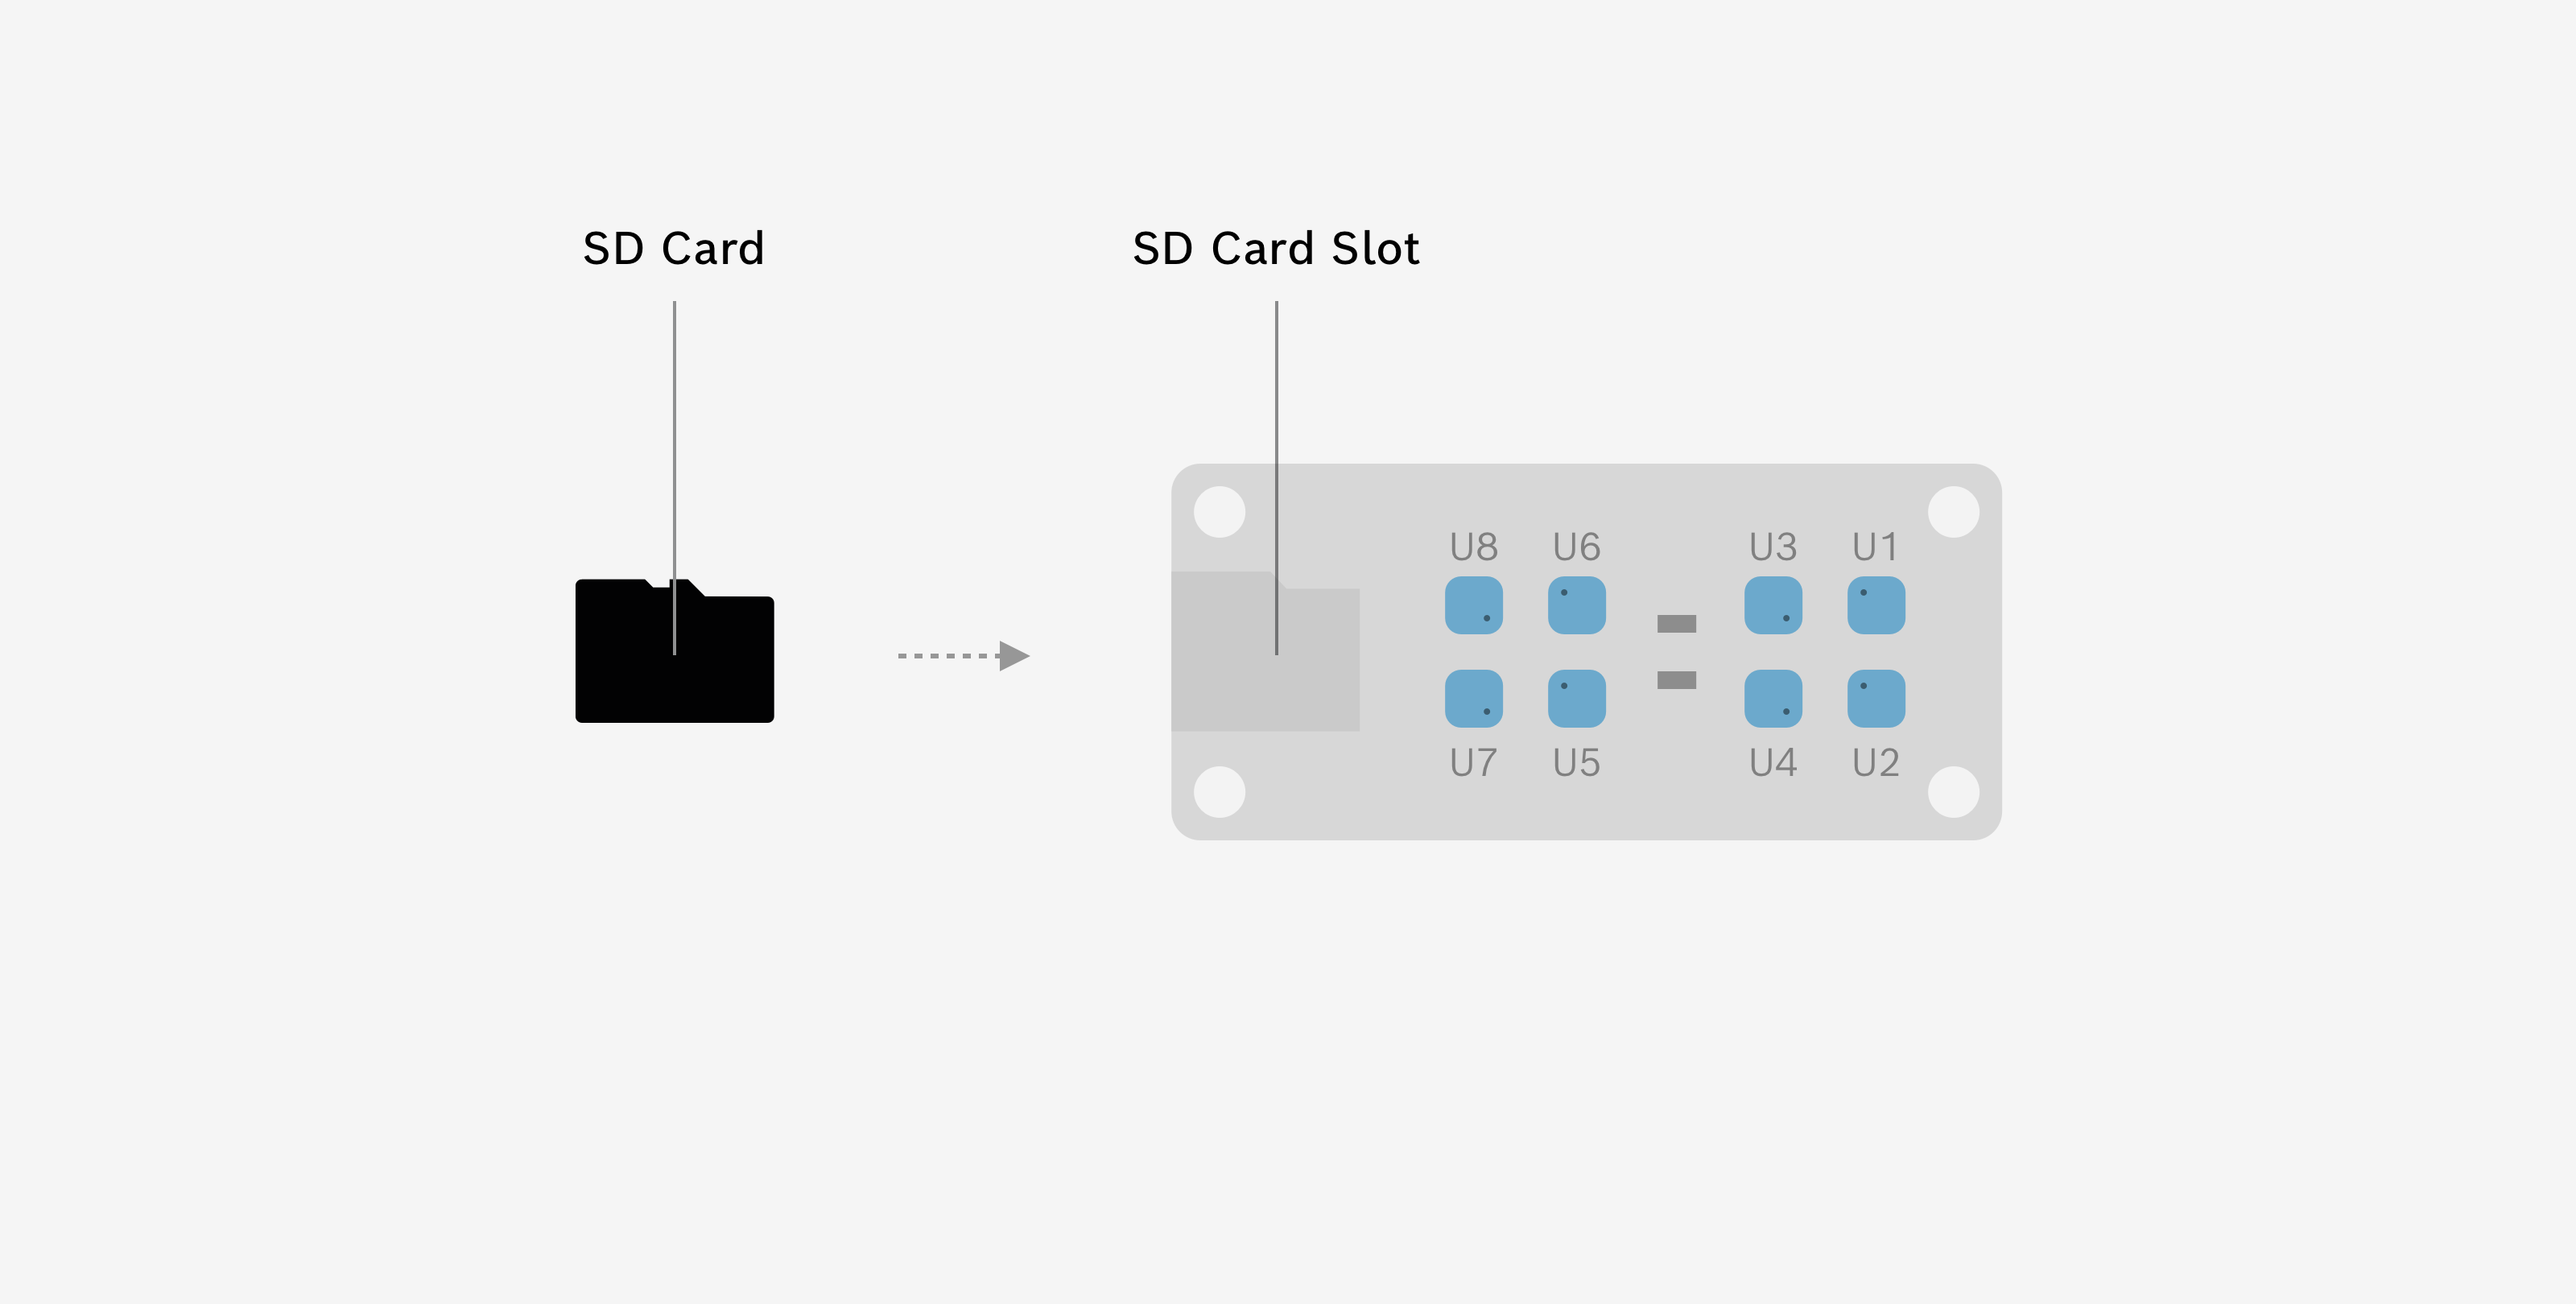
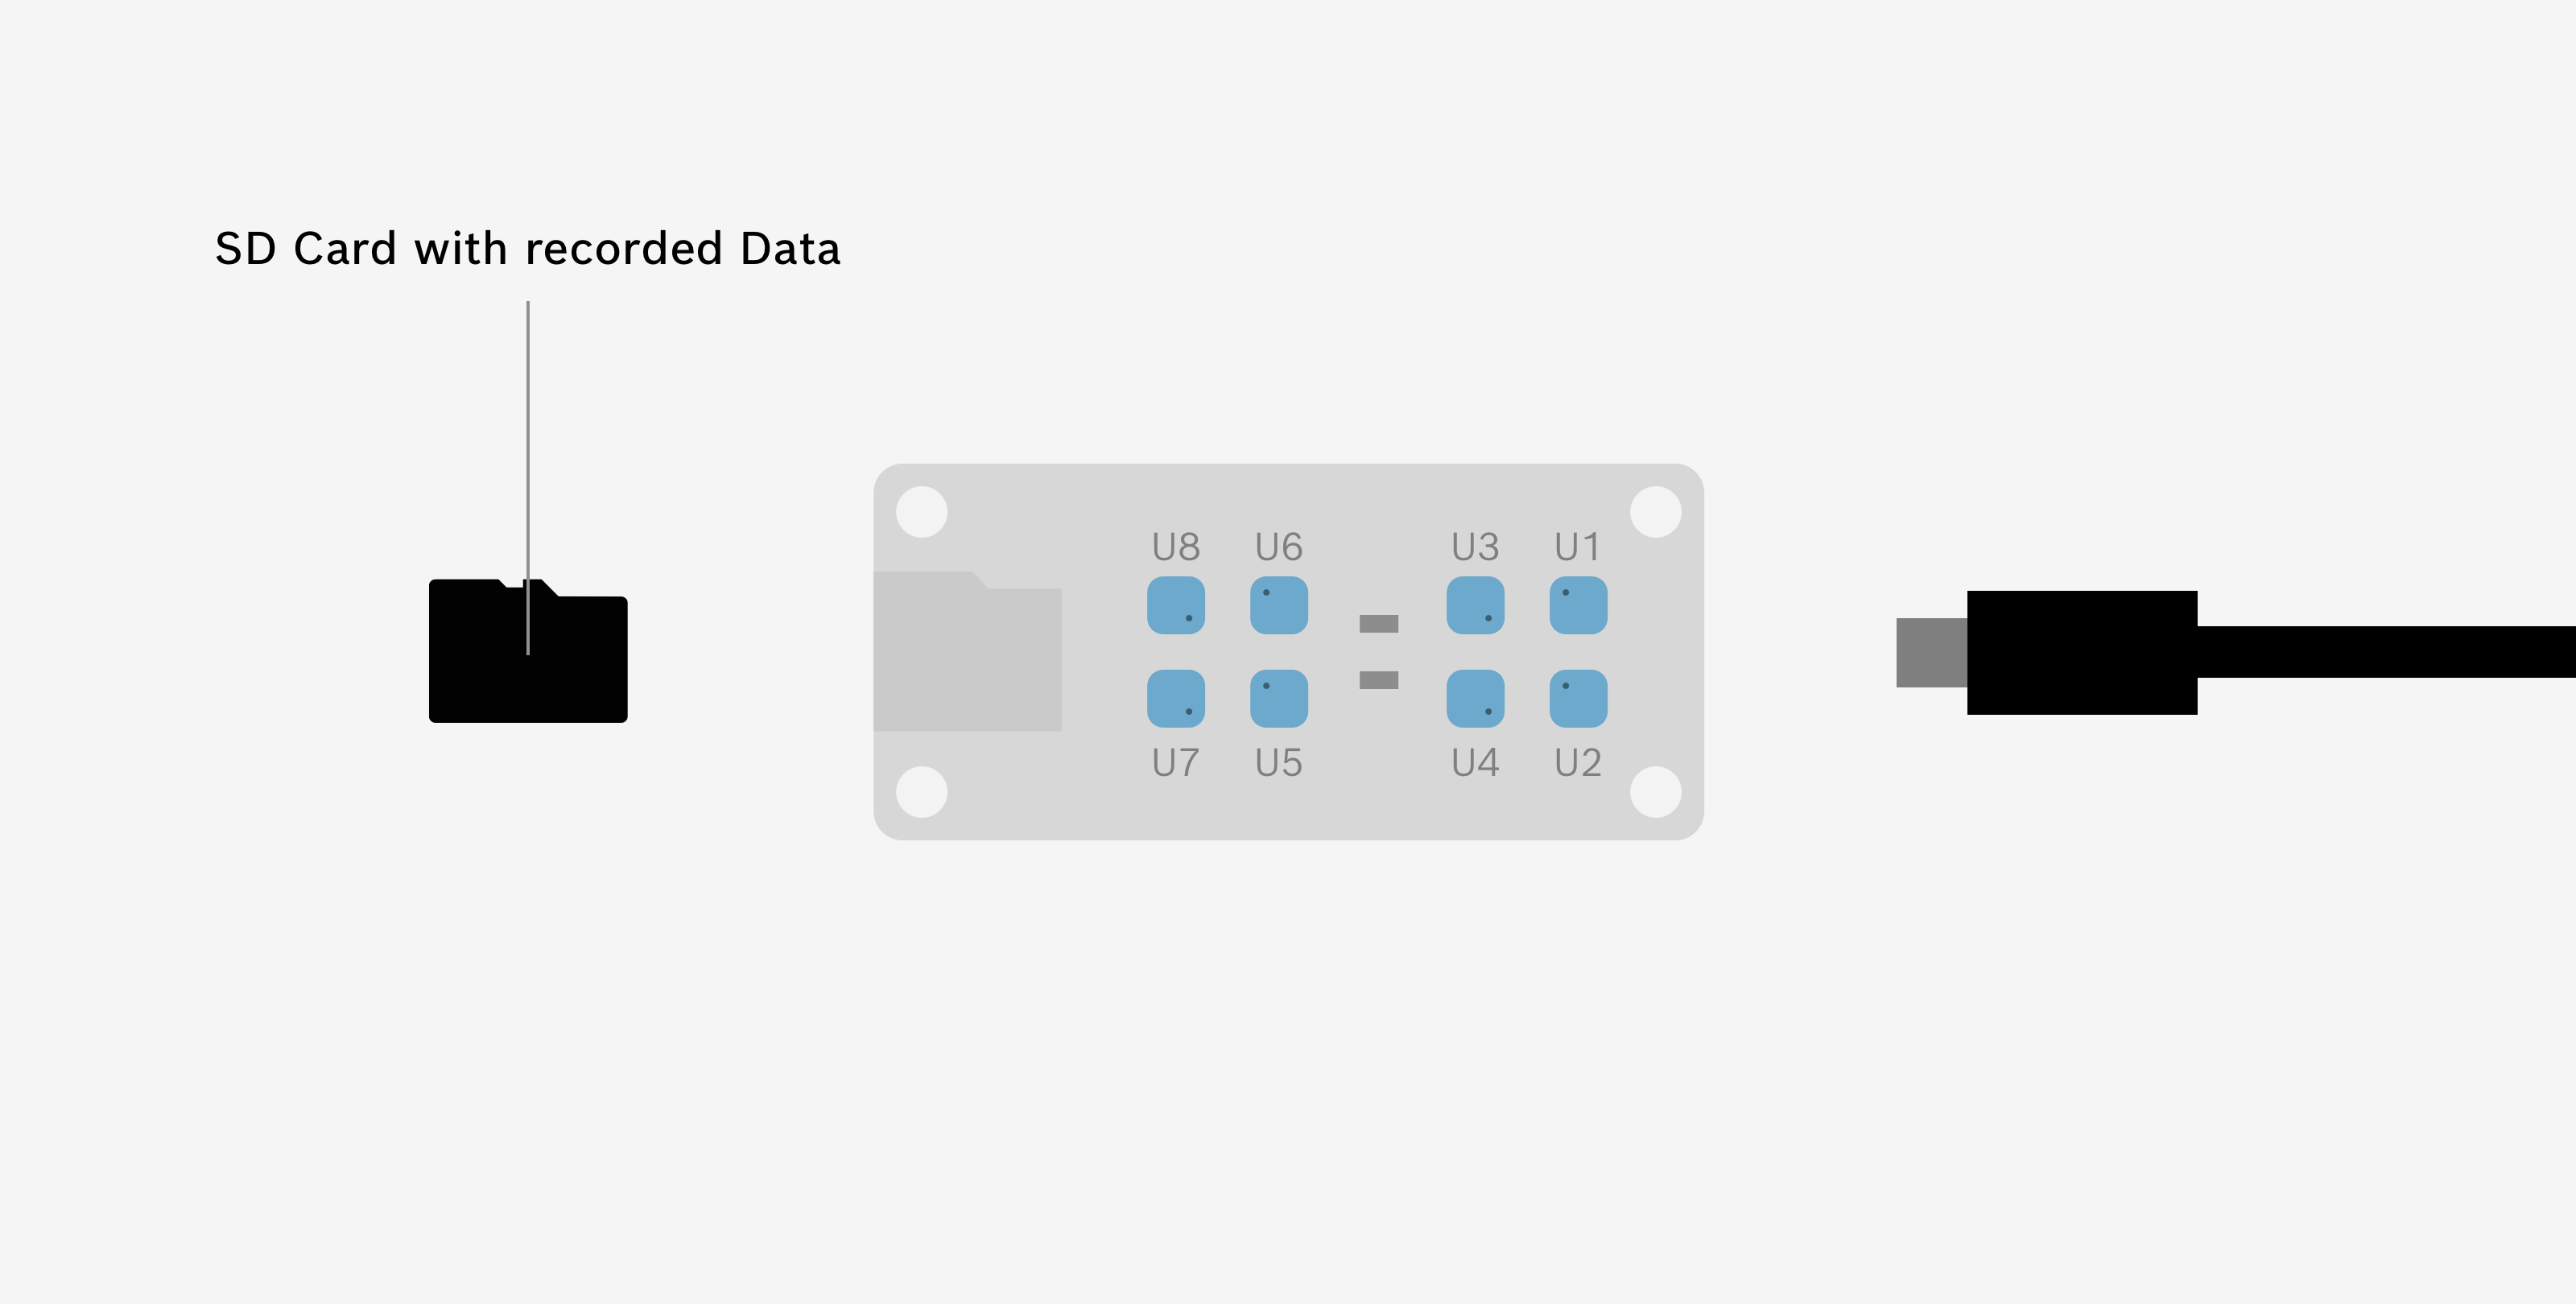
Insert the SD card into the BME Board. The SD card slot is on the top side of the BME Board. Insert the card with its contacts facing towards the upper circuit board.
Please note
Make sure you put a board configuration file (.bmeconfig) on the SD card. Create these files by selecting Configure BME Board and then Save to file. More info under I. Configure Board.

Connect the BME Board to power with a Micro USB cable. Once the board is connected to power it will automatically turn on and start recording. The red LED next to the USB connector should blink every two seconds. If it blinks rapidly, the board is not recording.
Best Practice
The BME688 Development Kit has an internal battery to keep track of time, but it is good practice to note down the exact date and time when you start your recording, so you can verify the data later.
Using BME Board with a Battery Pack
For recordings in closed environments you can use a battery pack to power the sensor board. A battery pack with 10.000 mAh should power your board for at least 24 hours, depending on the Duty cycle used and the surrounding temperatures.
During recording
You can record multiple Specimens during your Measurement Session without the need to turn off the BME Board. To mark different Specimens during your recording on the fly, you have two options:
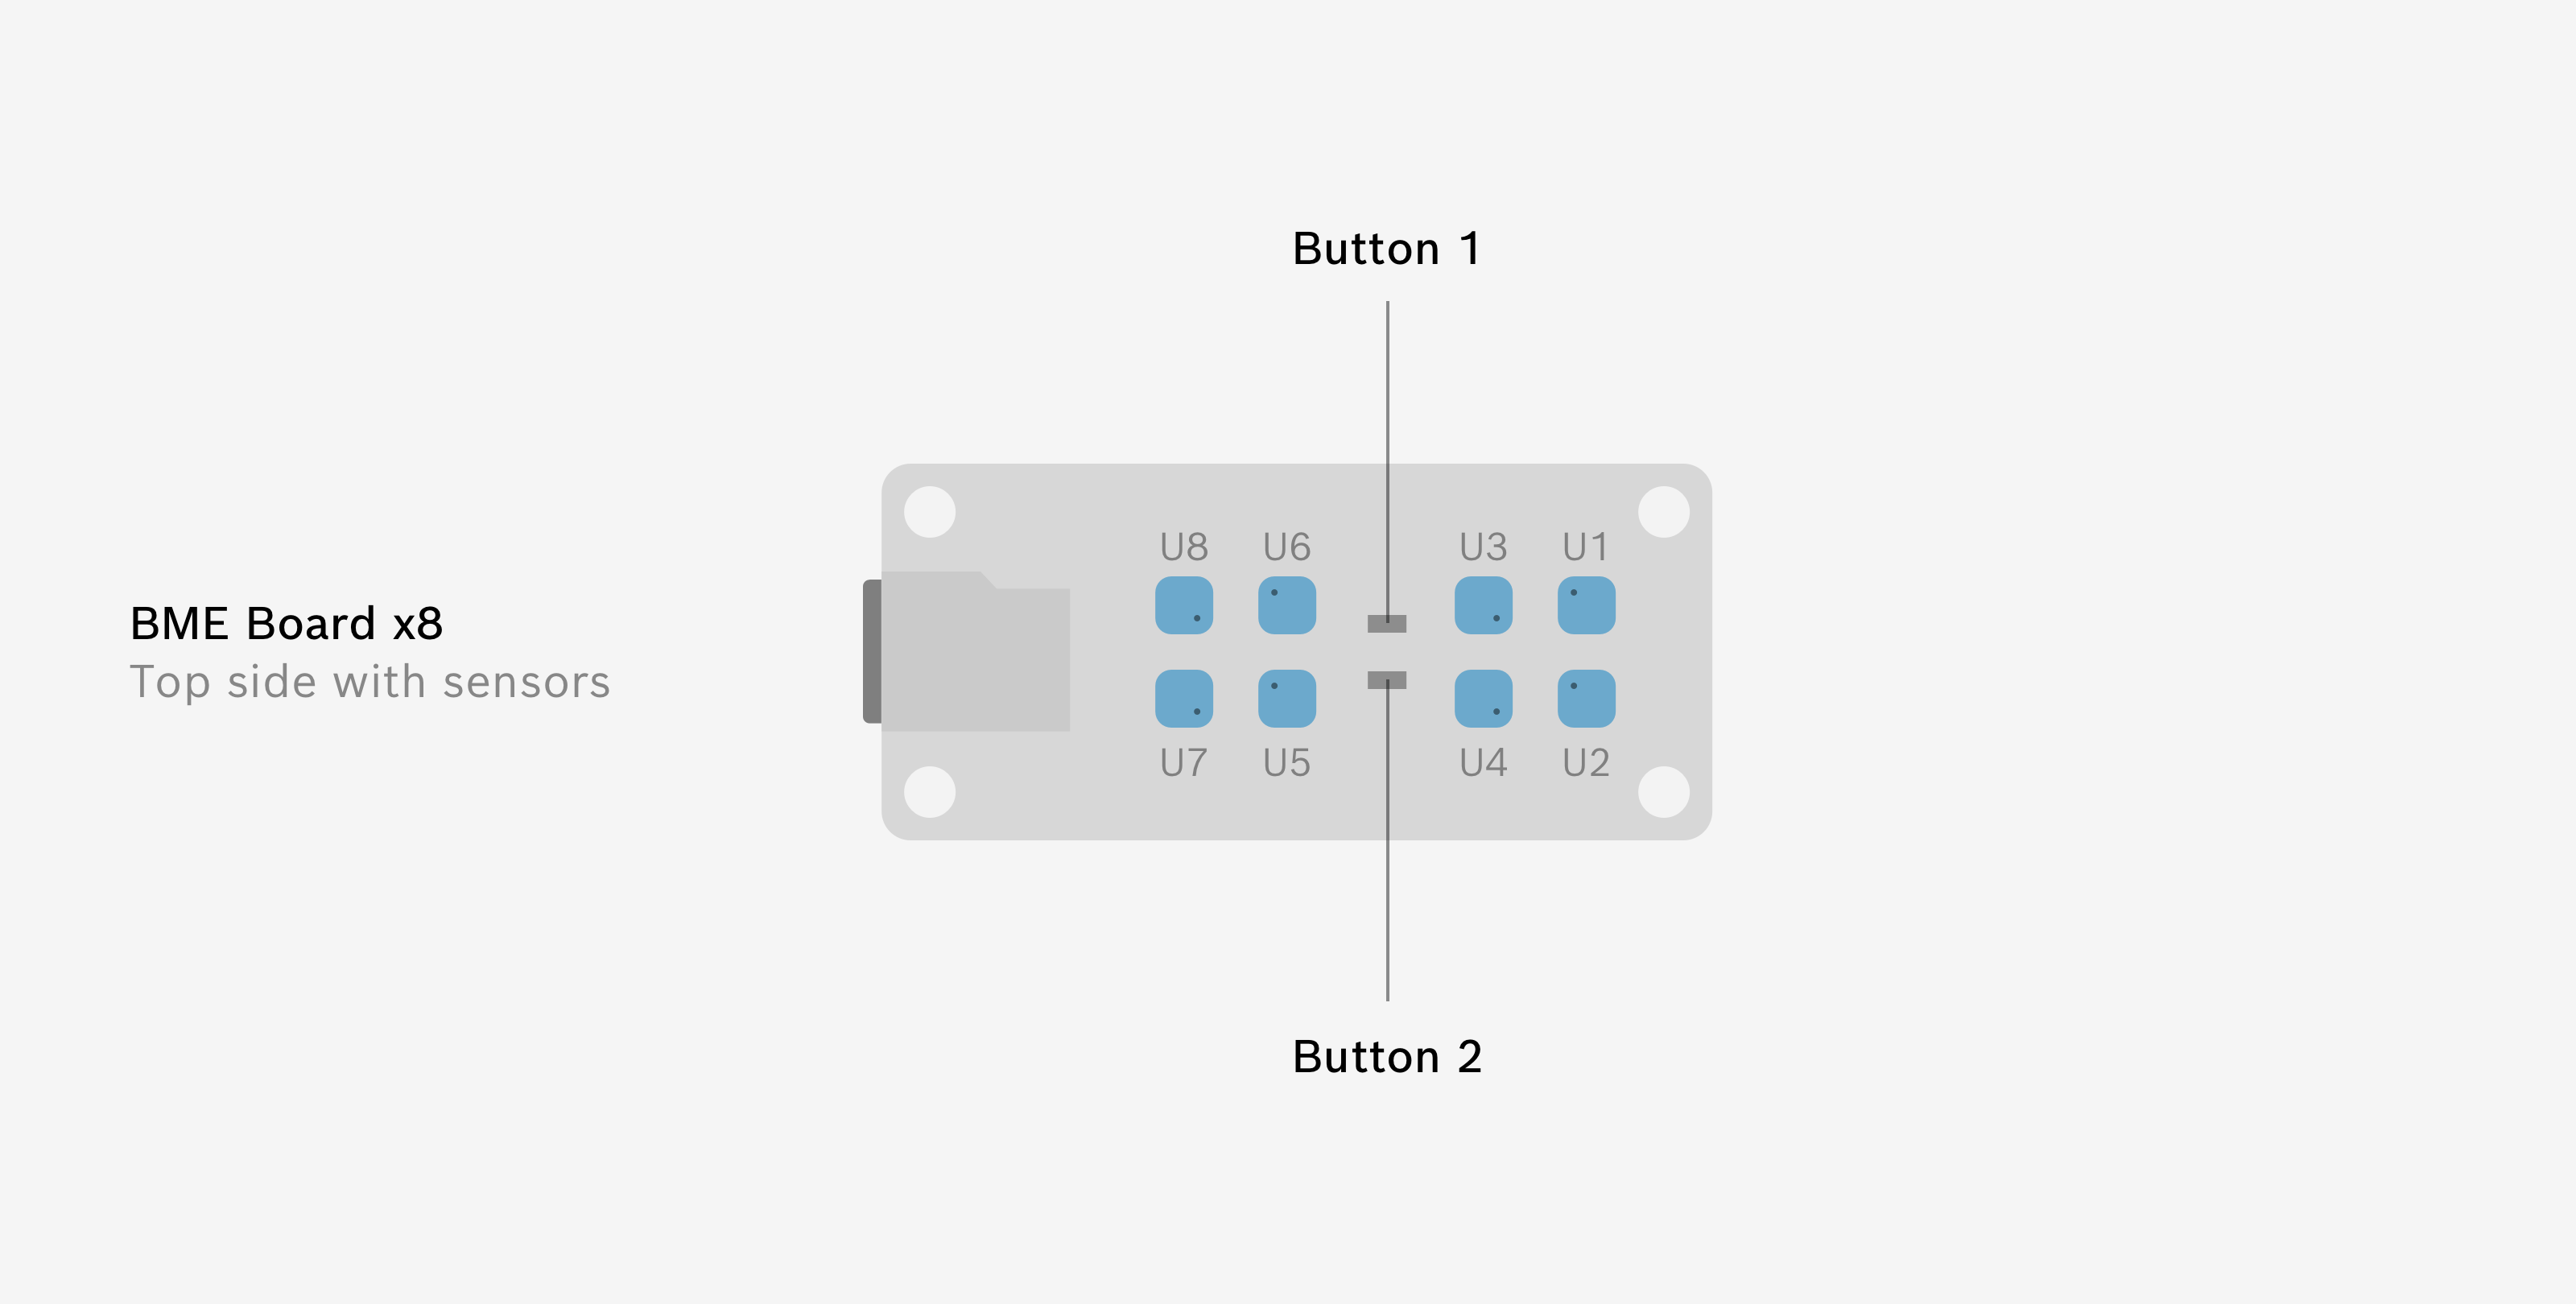
- use the buttons on the BME Board
- use the BME Mobile App
Define Specimens during measurement via on-board buttons
During measurement you can use either Button 1 (labeled S1) or Button 2 (labeled S2) on the BME688 Development Kit to mark specific moments as a new Specimen. If you do, these Specimen definitions will appear as Specimens during data import.
Define Specimens during measurement via BME Mobile App
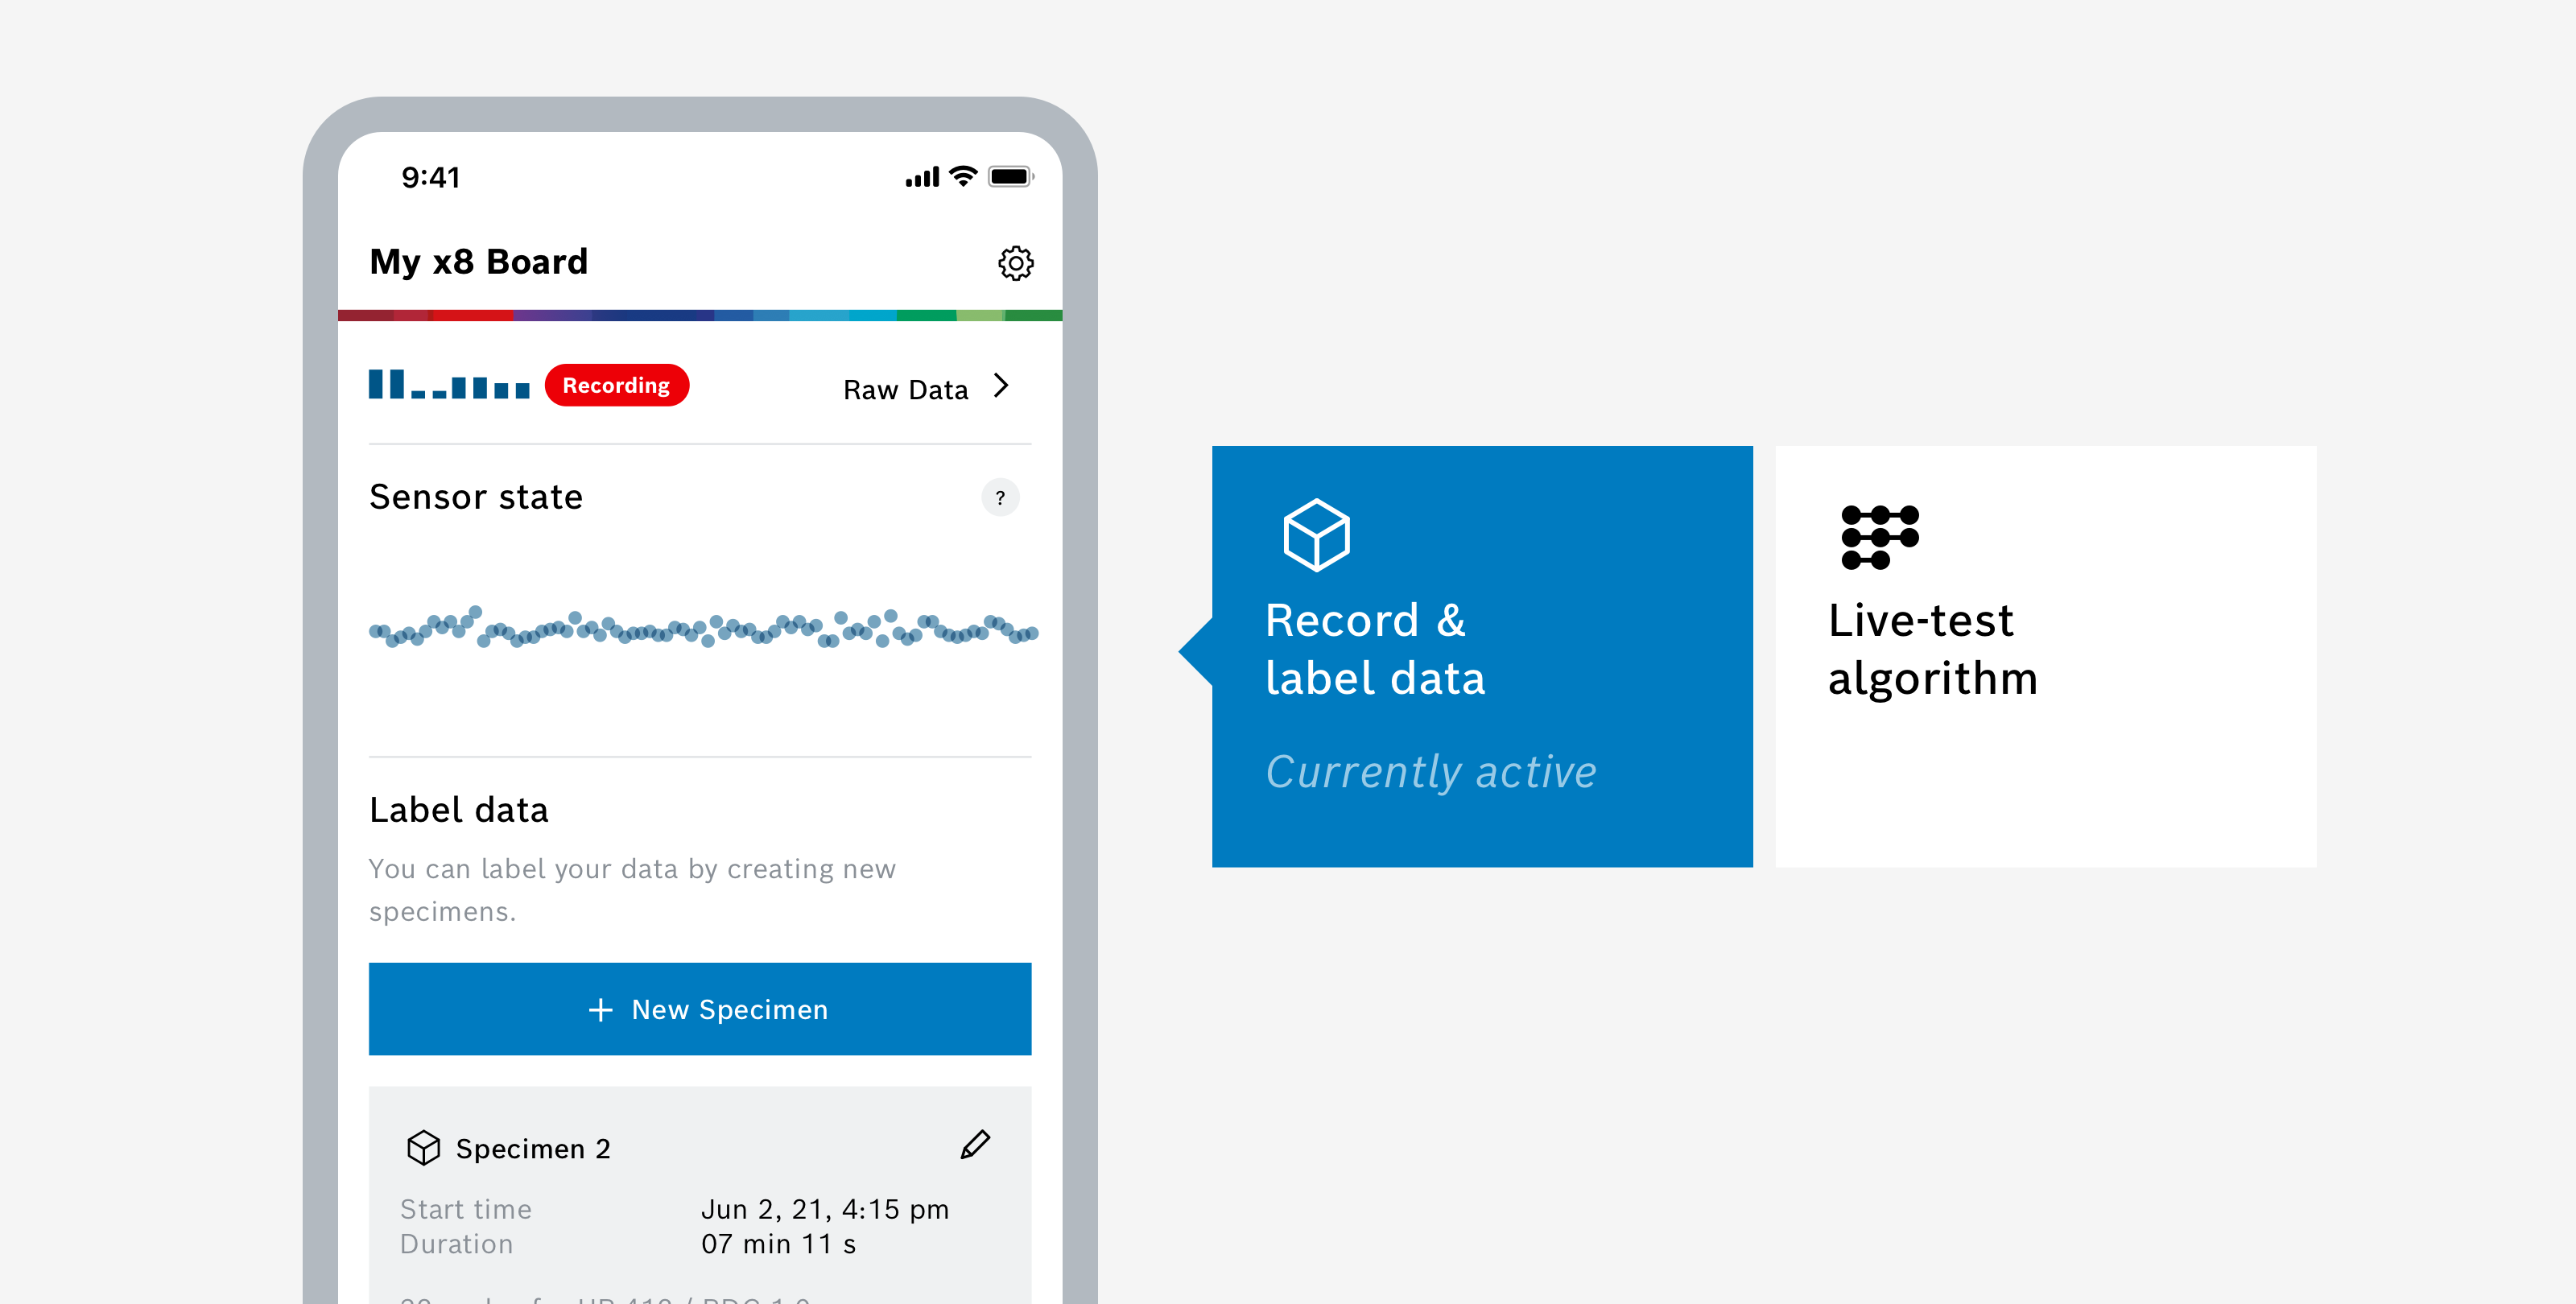
You can use the BME AI-Studio Mobile App to define specimens during your recording on the fly. Install the app and connect to your BME688 Development Kit. Once connected, you can choose between two modes of operation – select Record & Label Data.
For more information about using the app during recording, please take a look here: Mobile App.
Define Specimens manually during data import
You can also add Specimen definitions manually during import. See III. Import Data for further details.
Best Practice
As with the start of your recording, we recommend keeping notes of which Specimens were recorded with the exact date and time for each Specimen.
End recording
Once you are finished recording your Specimens, you can simply unplug the power. The BME Board will turn off and the recording will stop.